CentOS is a Industry Standard Linux Distribution which is a derivative of RedHat Enterprise Linux. You may start using the OS as soon as you install it, but to make the most out of your system you need to perform a few updates, install a few packages, configure certain services and application.
This article aims at “30 Things to Do After Installing RHEL/CentOS 7”. The post is written keeping in mind you have installed RHEL/CentOS Minimal Install which is preferred in Enterprise and production environment, if not you can follow below guide that will show you minimal installations of both.
The following are the list of important things, which we’ve covered in this guide based on industry standard requirements. We hoping that, these things will be very helpful in setting up your server.
7. Install PHP
11. Install Java
15. Installing Wget
28. Install Owncloud
1. Register and Enable Red Hat Subscription
After minimal RHEL 7 installation, it’s time to register and enable your system to Red Hat Subscription repositories and perform a full system update. This is valid only if you have a valid RedHat Subscription. You need to register your in order to enable official RedHat System repositories and update the OS from time-to-time.
We have already covered a detailed instructions on how to register and active RedHat subscription at the below guide.
Note: This step is only for RedHat Enterprise Linux having a valid subscription. If you are running a CentOS server immediately move to further steps.
2. Configure Network with Static IP Address
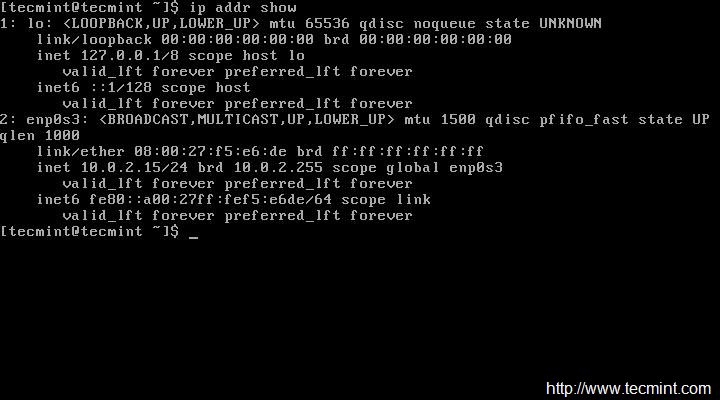
The first thing you need to do is to configure Static IP address, Route and DNS to your CentOS Server. We will be using ip command the replacement of ifconfig command. However, ifconfig command is still available for most of the Linux distributions and can be installed from default repository.
But as I said we will be using ip command to configure static IP address. So, make sure you first check the current IP address.
Now open and edit file /etc/sysconfig/network-scripts/ifcfg-enp0s3 using your choice of editor. Here, I’m using Vi editor and make sure you must be root user to make changes…
Now we will be editing four fields in the file. Note the below four fields and leave everything else untouched. Also leave double quotes as it is and enter your data in between.
After making the changes ‘ifcfg-enp0s3‘, looks something like the image below. Notice your IP, GATEWAY and DNS will vary, please confirm it with your ISP. Save and Exit.
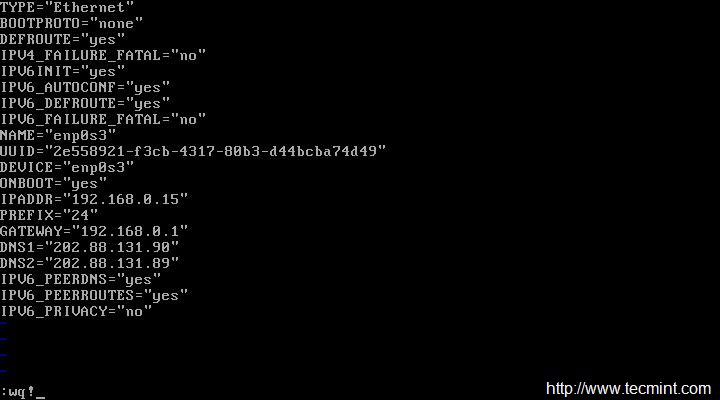
Network Details
Restart service network and check the IP is correct or not, that was assigned. If everything is ok, Ping to see network status…
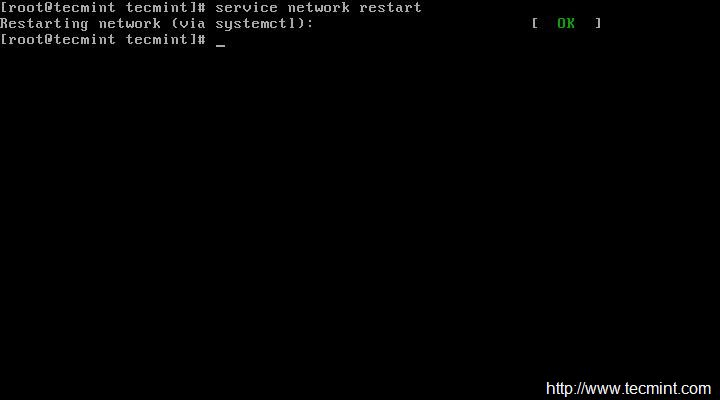
Restart Network Service
After restarting network, make sure to check the IP address and network status…
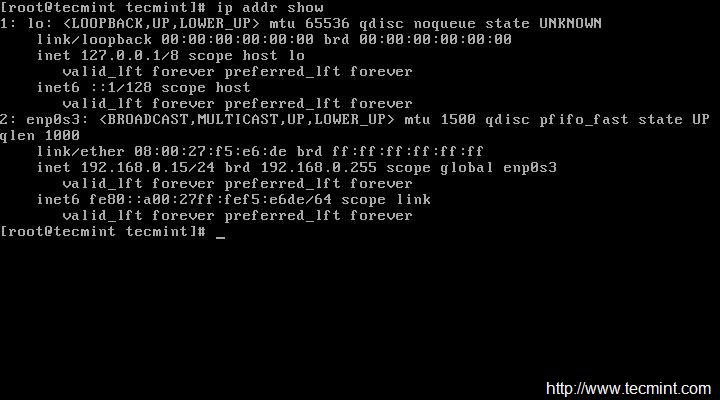
Verify IP Address

Check Network Status
3. Set Hostname of Server
The next thing to do is to change the HOSTNAME of the CentOS sever. Check the currently assignedHOSTNAME.
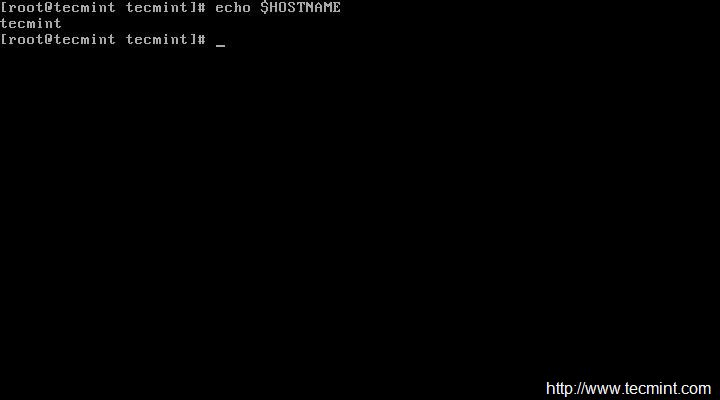
Check System Hostname
To set new HOSTNAME we need to edit ‘/etc/hostsname‘ and replace old hostname with the desired one.
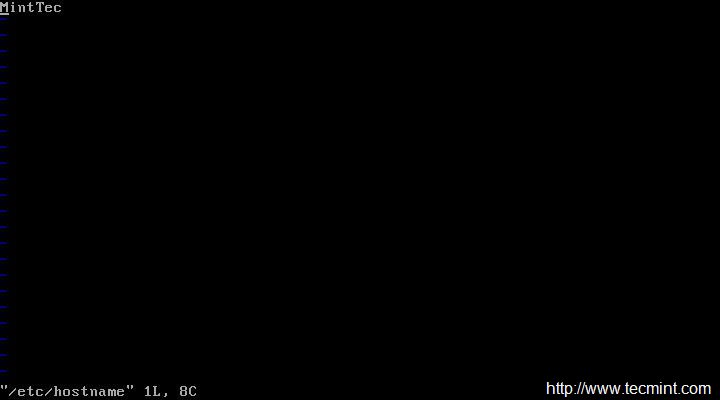
Set System Hostname
After setting hostname, make sure to confirm hostname by logout and login again. After login check new hostname.
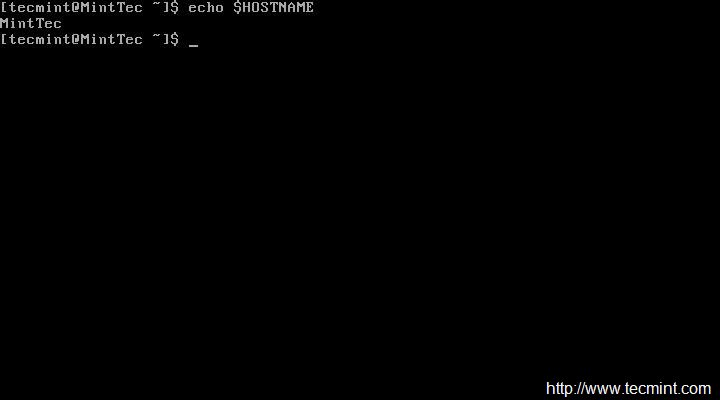
Confirm New Hostname
Alternatively you may use command ‘hostname‘ command to view your current hotsname.
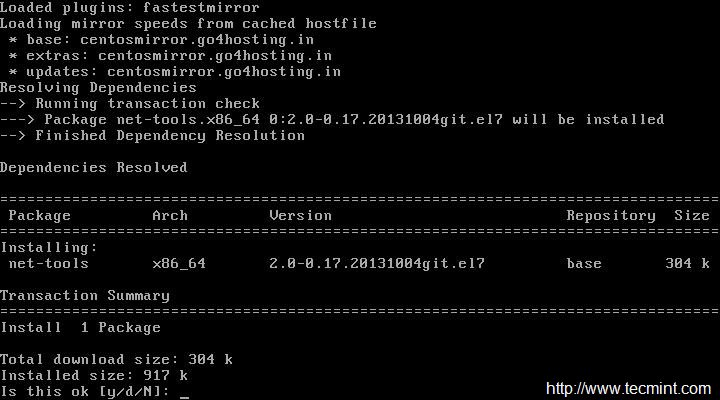
4. Update or Upgrade CentOS Minimal Install
This will not install any new packages other than updating and installing the latest version of installed packages and security updates. Moreover Update and Upgrade are pretty same except the fact that Upgrade = Update + enable obsoletes processing during updates.
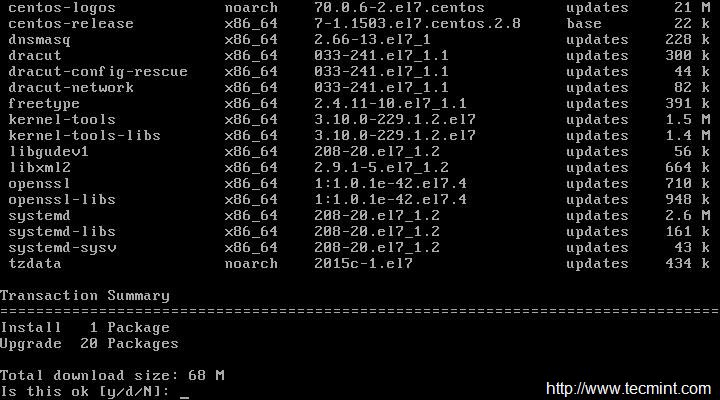
Update Minimal CentOS Server
Important: You can also run the below command which will not prompt for the packages update and you do not need to type ‘y‘ for accepting the changes.
However it is always a good idea to review the changes which is going to take place on the sever specially in production. Hence using the below command may automate the update and upgrade for you but it is not recommended.
5. Install Command Line Web Browser
In most cases, specially in production environment, we usually install CentOS as command line with no GUI, in this situation we must have a commandline browsing tool to check websites via terminal. For this, we going to install a most famous tool called ‘links‘.

Links: Commandline Web Browsing
For usage and examples to browse web sites u links tool, read our article Command Line Web Browsing with Links Tool
6. Install Apache HTTP Server
No matter for what purpose you will be using the server, in most of the cases you need a HTTP server to run websites, multimedia, client side script and many other things.

Install Apache Server
If you would like to change default port (80) of Apache HTTP Server to any other port. You need to edit the configuration file ‘/etc/httpd/conf/httpd.conf‘ and search for the line that starts typically like:
Change port number ‘80‘ to any other port (say 3221), save and exit.
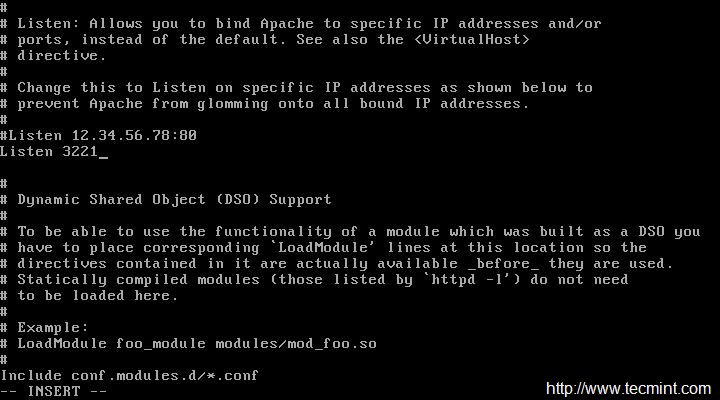
Change Apache Port
Add the port you just opened for Apache through firewall and then reload firewall.
Allow service http through firewall (Permanent).
Allow port 3221 through firewall (Permanent).
Reload firewall.
After making all above things, now it’s time to restart Apache HTTP server, so that the new port number is taken into effect.
Now add the Apache service to system-wide to start automatically when system boots.
Now verify the Apache HTTP Server by using links command line tool as shown in the below screen.

Verify Apache Status
7. Install PHP
PHP is a server-side scripting language for web based services. It is frequently used as general-purpose programming language as well. Install PHP on CentOS Minimal Server as.
After installing php, make sure to restart Apache service to render PHP in Web Browser.
Next, verify PHP by creating following php script in the Apache document root directory.
Now view the PHP file, we just created (phpinfo.php) in Linux Command Line as below.
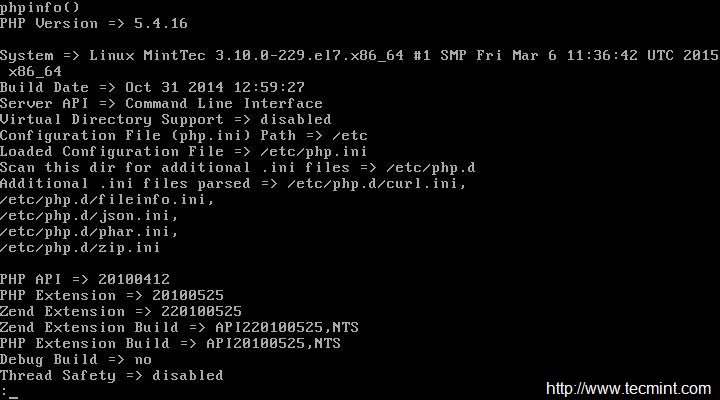
Verify PHP
8. Install MariaDB Database
MariaDB is a fork of MySQL. RedHat Enterprise Linux and its derivatives have shifted to MariaDB from MySQL. It is the Primary Database management System. It is again one of those tools which is necessary to have and you will need it sooner or later no matter what kind of server you are setting. Install MariaDB on CentOS Minimal Install server as below.

Install MariaDB Database
Start and configure MariaDB to start automatically at boot.
Allow service mysql (mariadb) through firewall.
Now it’s time to secure MariaDB server.
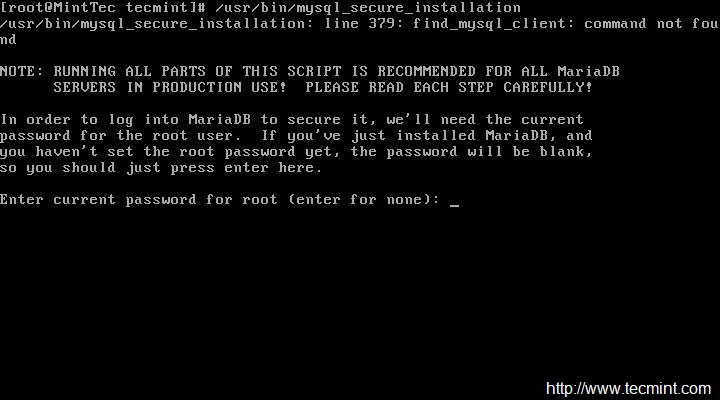
Secure MariaDB Database
Read Also:
- Installing LAMP (Linux, Apache, MariaDB, PHP/PhpMyAdmin) in CentOS 7.0
- Creating Apache Virtual Hosts in CentOS 7.0
9. Install and Configure SSH Server
SSH stands for Secure Shell which is the default protocol in Linux for remote management. SSH is one of those essential piece of software which comes default with CentOS Minimal Server.
Check Currently Installed SSH version.

Check SSH Version
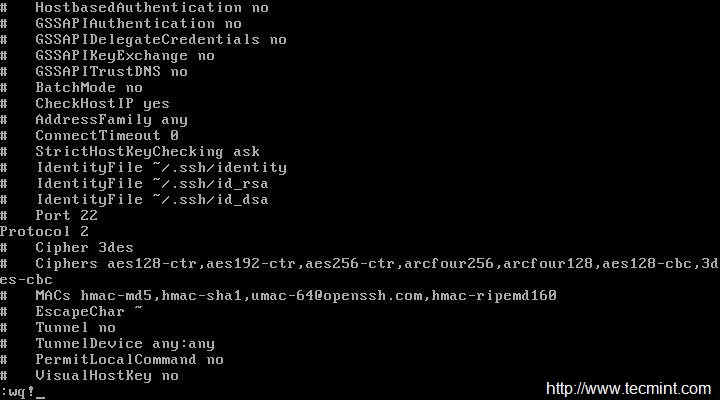
Use Secure Protocol over the default SSH Protocol and change port number also for extra Security. Edit the SSH configuration file ‘/etc/ssh/ssh_config‘.
Uncomment the line below line or delete 1 from the Protocol string, so the line seems like:
This change force SSH to use Protocol 2 which is considered to be more secure than Protocol 1 and also make sure to change the port number 22 to any in the configuration.
Secure SSH Login
Disable SSH ‘root login‘ and allow to connect to root only after login to normal user account for added additional Security. For this, open and edit configuration file ‘/etc/ssh/sshd_config‘ and changePermitRootLogin yes t PermitRootLogin no.
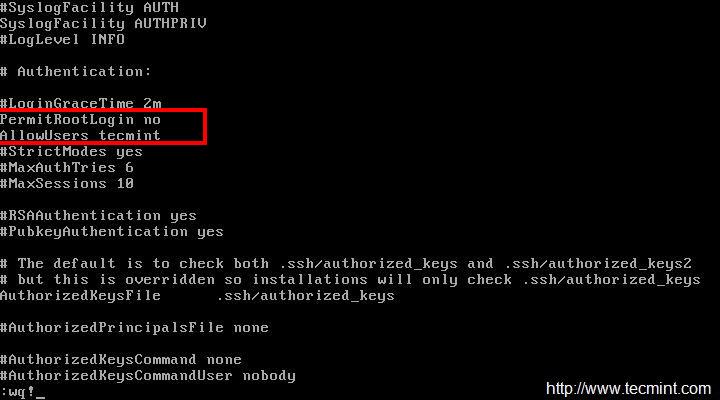
Disable SSH Root Login
Finally, restart SSH service to reflect new changes..
Read Also:
- 5 Best Practices to Secure and Protect SSH Server
- SSH Passwordless Login Using SSH Keygen in 5 Easy Steps
- No Password SSH Keys Authentication” with PuTTY
10. Install GCC (GNU Compiler Collection)
GCC stands for GNU Compiler Collection is a compiler system developed by GNU Project that support various programming languages. It is not installed by default in CentOS Minimal Install. To install gcc compiler run the below command.
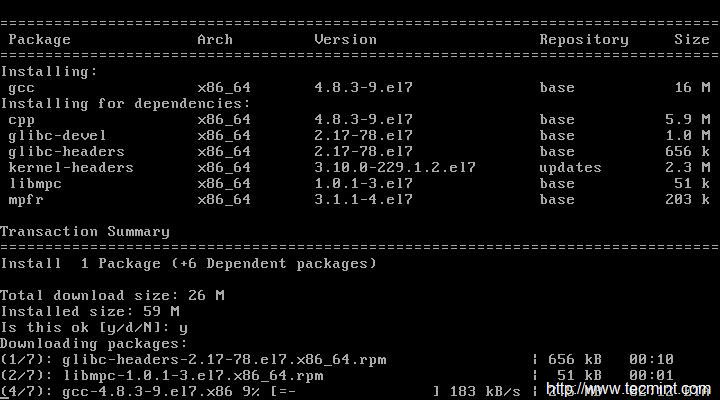
Install GCC GNU Compiler
Check the version of installed gcc.
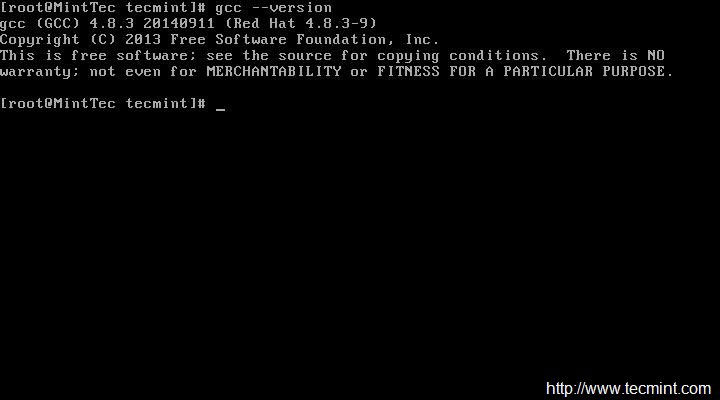
Check GCC Version
11. Install Java
Java is a general purpose class based, object-oriented Programming language. It is not installed by default in CentOS Minimal Server. Install Java from repository as below.
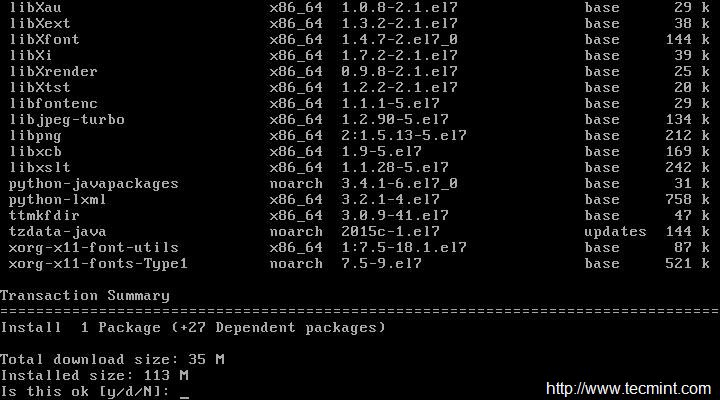
Install Java
Check version of Java Installed.

Check Java Version
12. Install Apache Tomcat
Tomcat is a servlet container designed by Apache to run Java HTTP web server. Install tomcat as below but it is necessary to point out that you must have installed Java prior of installing tomcat.
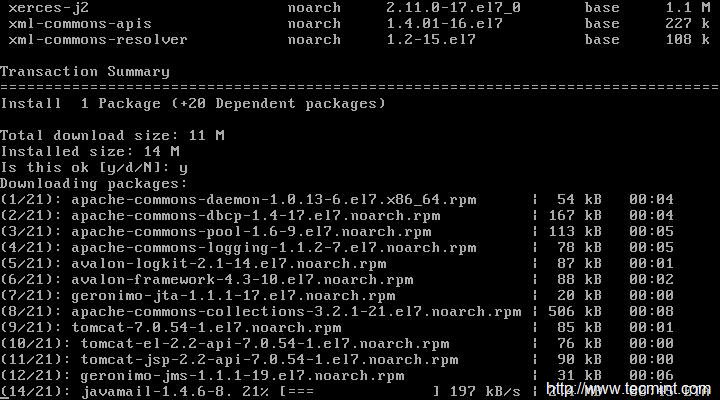
Install Apache Tomcat
After tomcat has been installed, star the tomcat service.
Check Version of tomcat.
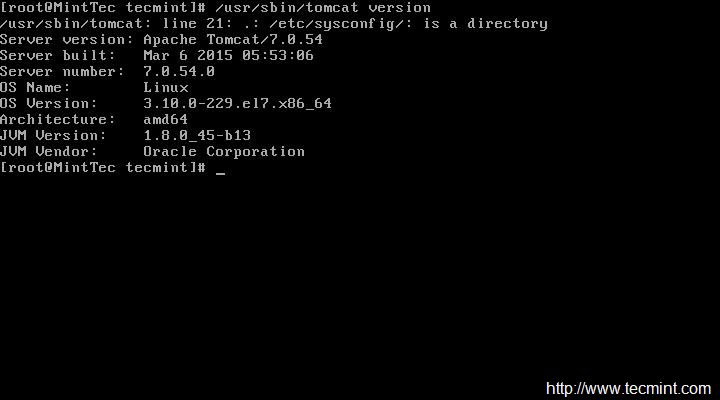
Check Tomcat Version
Add service tomcat and default port (8080) through firewall and reload settings.
Now it’s time to secure tomcat server, create a user and a password to access and manage. We need to edit file ‘/etc/tomcat/tomcat-users.xml‘. See the section which looks like:

Secure Tomcat
Here we added user “tecmint” to administer/manage tomcat using password “tecmint”. Stop and start the service tomcat so that the changes are taken into effect and enable tomcat service to start at system boot.
13. Install Nmap to Monitor Open Ports
Nmap for Network Mapper creates a map of the network by discovering host on which it is running as well as by analyzing network. nmap is not included in the default installation and you have to install it from repository.

Install Nmap Monitoring Tool
List all open ports and corresponding services using them on host.

Monitor Open Ports
You may also use firewall-cmd to list all the ports, however I find nmap more useful.

Check Open Ports in Firewall
Read Also: 29 Useful Nmap Command to Monitor Open Ports
14. FirewallD Configuration
firewalld is a firewall service which manages the server dynamically. Firewalld removed iptables in CentOS 7. Firewalld is installed by default on RedHat Enterprise Linux and its derivatives by default. With iptables every change in order to be taken into effect needs to flush all the old rules and create new rules.
However with firewalld, no flushing and recreating of new rules required and only changes are applied on the fly.
Check if Firewalld is running or not.

Check Firewalld Status
Get a list of all the zones.

Check Firewalld Zones
To get details on a zone before switching.

Check Zone Details
To get default zone.

Firewalld Default Zone
To switch to a different zone say ‘work‘.

Swich Firewalld Zones
To list all the services in the zone.

List Firewalld Zone Services
To add a service say http, temporarily and reload firewalld.

Add http Service Temporarily
To add a service say http, permanently and reload firewalld.

Add http Service Permanent
To remove a service say http, temporarily.

Remove Firewalld Service Temporarily
To remove a service say http, permanently.

Remove Service Permanently
To allow a port (say 331), temporarily.

Open Port Temporarily
To allow a port (say 331), permanently.

Open Port Permanently
To block/remove a port (say 331), temporarily.

Remove Port Temporarily
To block/remove a port (say 331), permanently.

Remove Port Permanently
To disable firewalld.

Disable Firewalld Service
To enable firewalld.

Enable Firewalld
- How to Configure ‘FirewallD’ in RHEL/CentOS 7
- Useful ‘FirewallD’ Rules to Configure and Manage Firewall
15. Installing Wget
wget is a Linux command line based utility that retrieves (downloads) content from web servers. It is an important tool you must have to retrieve web contents or download any files using wget command.

Install Wget Tool
For more usage and practical examples on how to use wget command to download files on the terminal, read 10 Wget Command Examples.
16. Installing Telnet
Telnet is a network protocol that enables a user to login into another computer on the same network over TCP/IP. Once connection etablished to the remote computer it becomes a virtual terminal and allow you to communicate with the remote host within your computer as per whatever privileges provided to you.
Telnet also very useful for checking listening ports on remote computer or host.

Telnet Port Checking
Không có nhận xét nào:
Đăng nhận xét